Creating a Fuel dApp
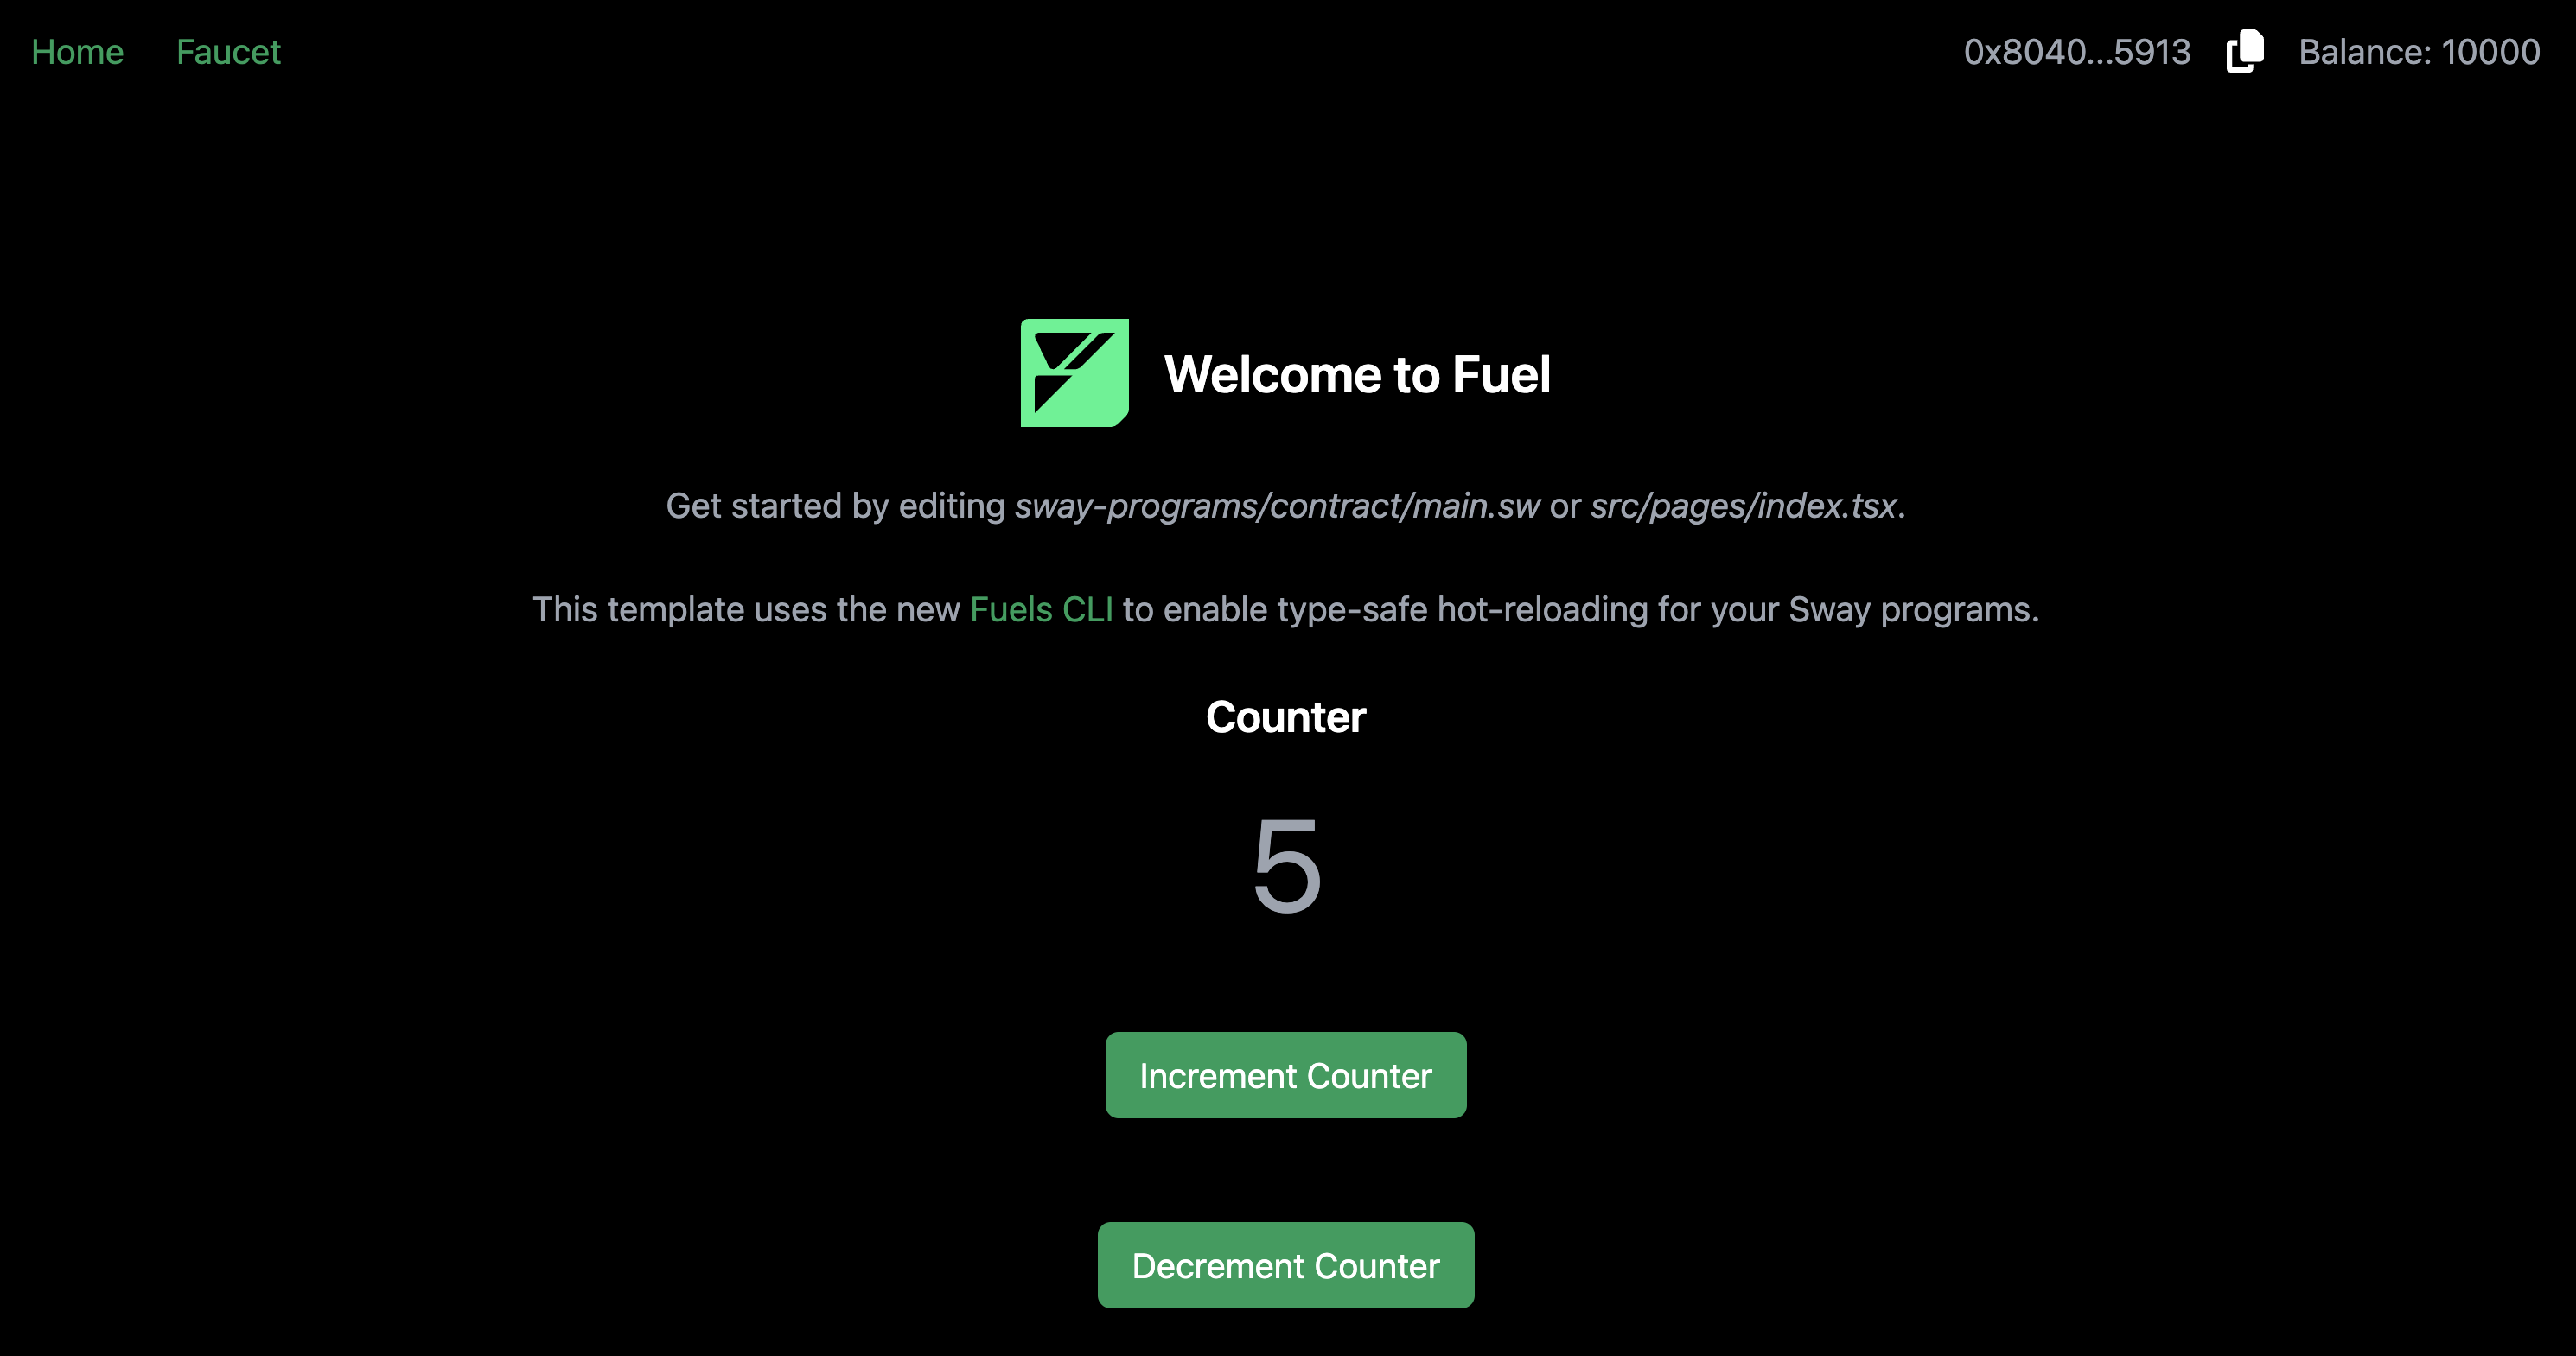
npm create fuels is a command line tool that helps you scaffold a new full-stack Fuel dApp. In this guide, we will create a new counter dApp using npm create fuels and add decrement functionality to it. The final result will look like this:
Initializing the project
The first step is to run the command:
npm create fuels@0.92.0pnpm create fuels@0.92.0bunx --bun create-fuels@0.92.0Once you run the command, you will be asked to choose a name for your project:
◇ What is the name of your project?
│ my-fuel-project
└
The tool will scaffold the project and install the necessary dependencies for you. You will then be greeted with this message:
⚡️ Success! Created a fullstack Fuel dapp at my-fuel-project

To get started:

- cd into the project directory: cd my-fuel-project
- Start a local Fuel dev server: pnpm fuels:dev
- Run the frontend: pnpm dev

-> TS SDK docs: https://docs.fuel.network/docs/fuels-ts/
-> Sway docs: https://docs.fuel.network/docs/sway/
-> If you have any questions, check the Fuel forum: https://forum.fuel.network/
Directory Structure
The project scaffolded by npm create fuels has roughly the following directory structure:
my-fuel-project
├── src
│ ├── app
│ │ ├── page.tsx
│ │ └── ...
│ ├── components
│ │ └── ...
│ ├── hooks
│ └── ...
│ ├── styles
│ │ └── ...
│ └── lib.ts
├── public
│ └── ...
├── sway-programs
│ ├── contract
│ │ └── src
│ │ └── main.sw
│ ├── Forc.lock
│ └── Forc.toml
├── fuels.config.ts
├── package.json
└── ...
It is a Next.js project with a few extra files and folders. Let's take a closer look at some of the important ones:
./fuels.config.ts
This is the configuration file for the fuels CLI, the CLI and tooling that powers this project under the hood. It makes sure that all of your Sway programs are continuously compiled and deployed to your local Fuel node. You can read more about the fuels.config.ts file in the Fuels CLI documentation.
./sway-programs/contract/src/main.sw
This is where our Sway contract lives. Out of the box, it is a simple counter contract that can only be incremented. We will add a decrement functionality to it in the next step.
./src/app/page.tsx
This file contains the source code for the frontend of our dApp. It is a Next.js page that renders the counter value and allows the user to increment the counter.
Dev Environment Setup
Now that we have our project scaffolded, let's set up our development environment.
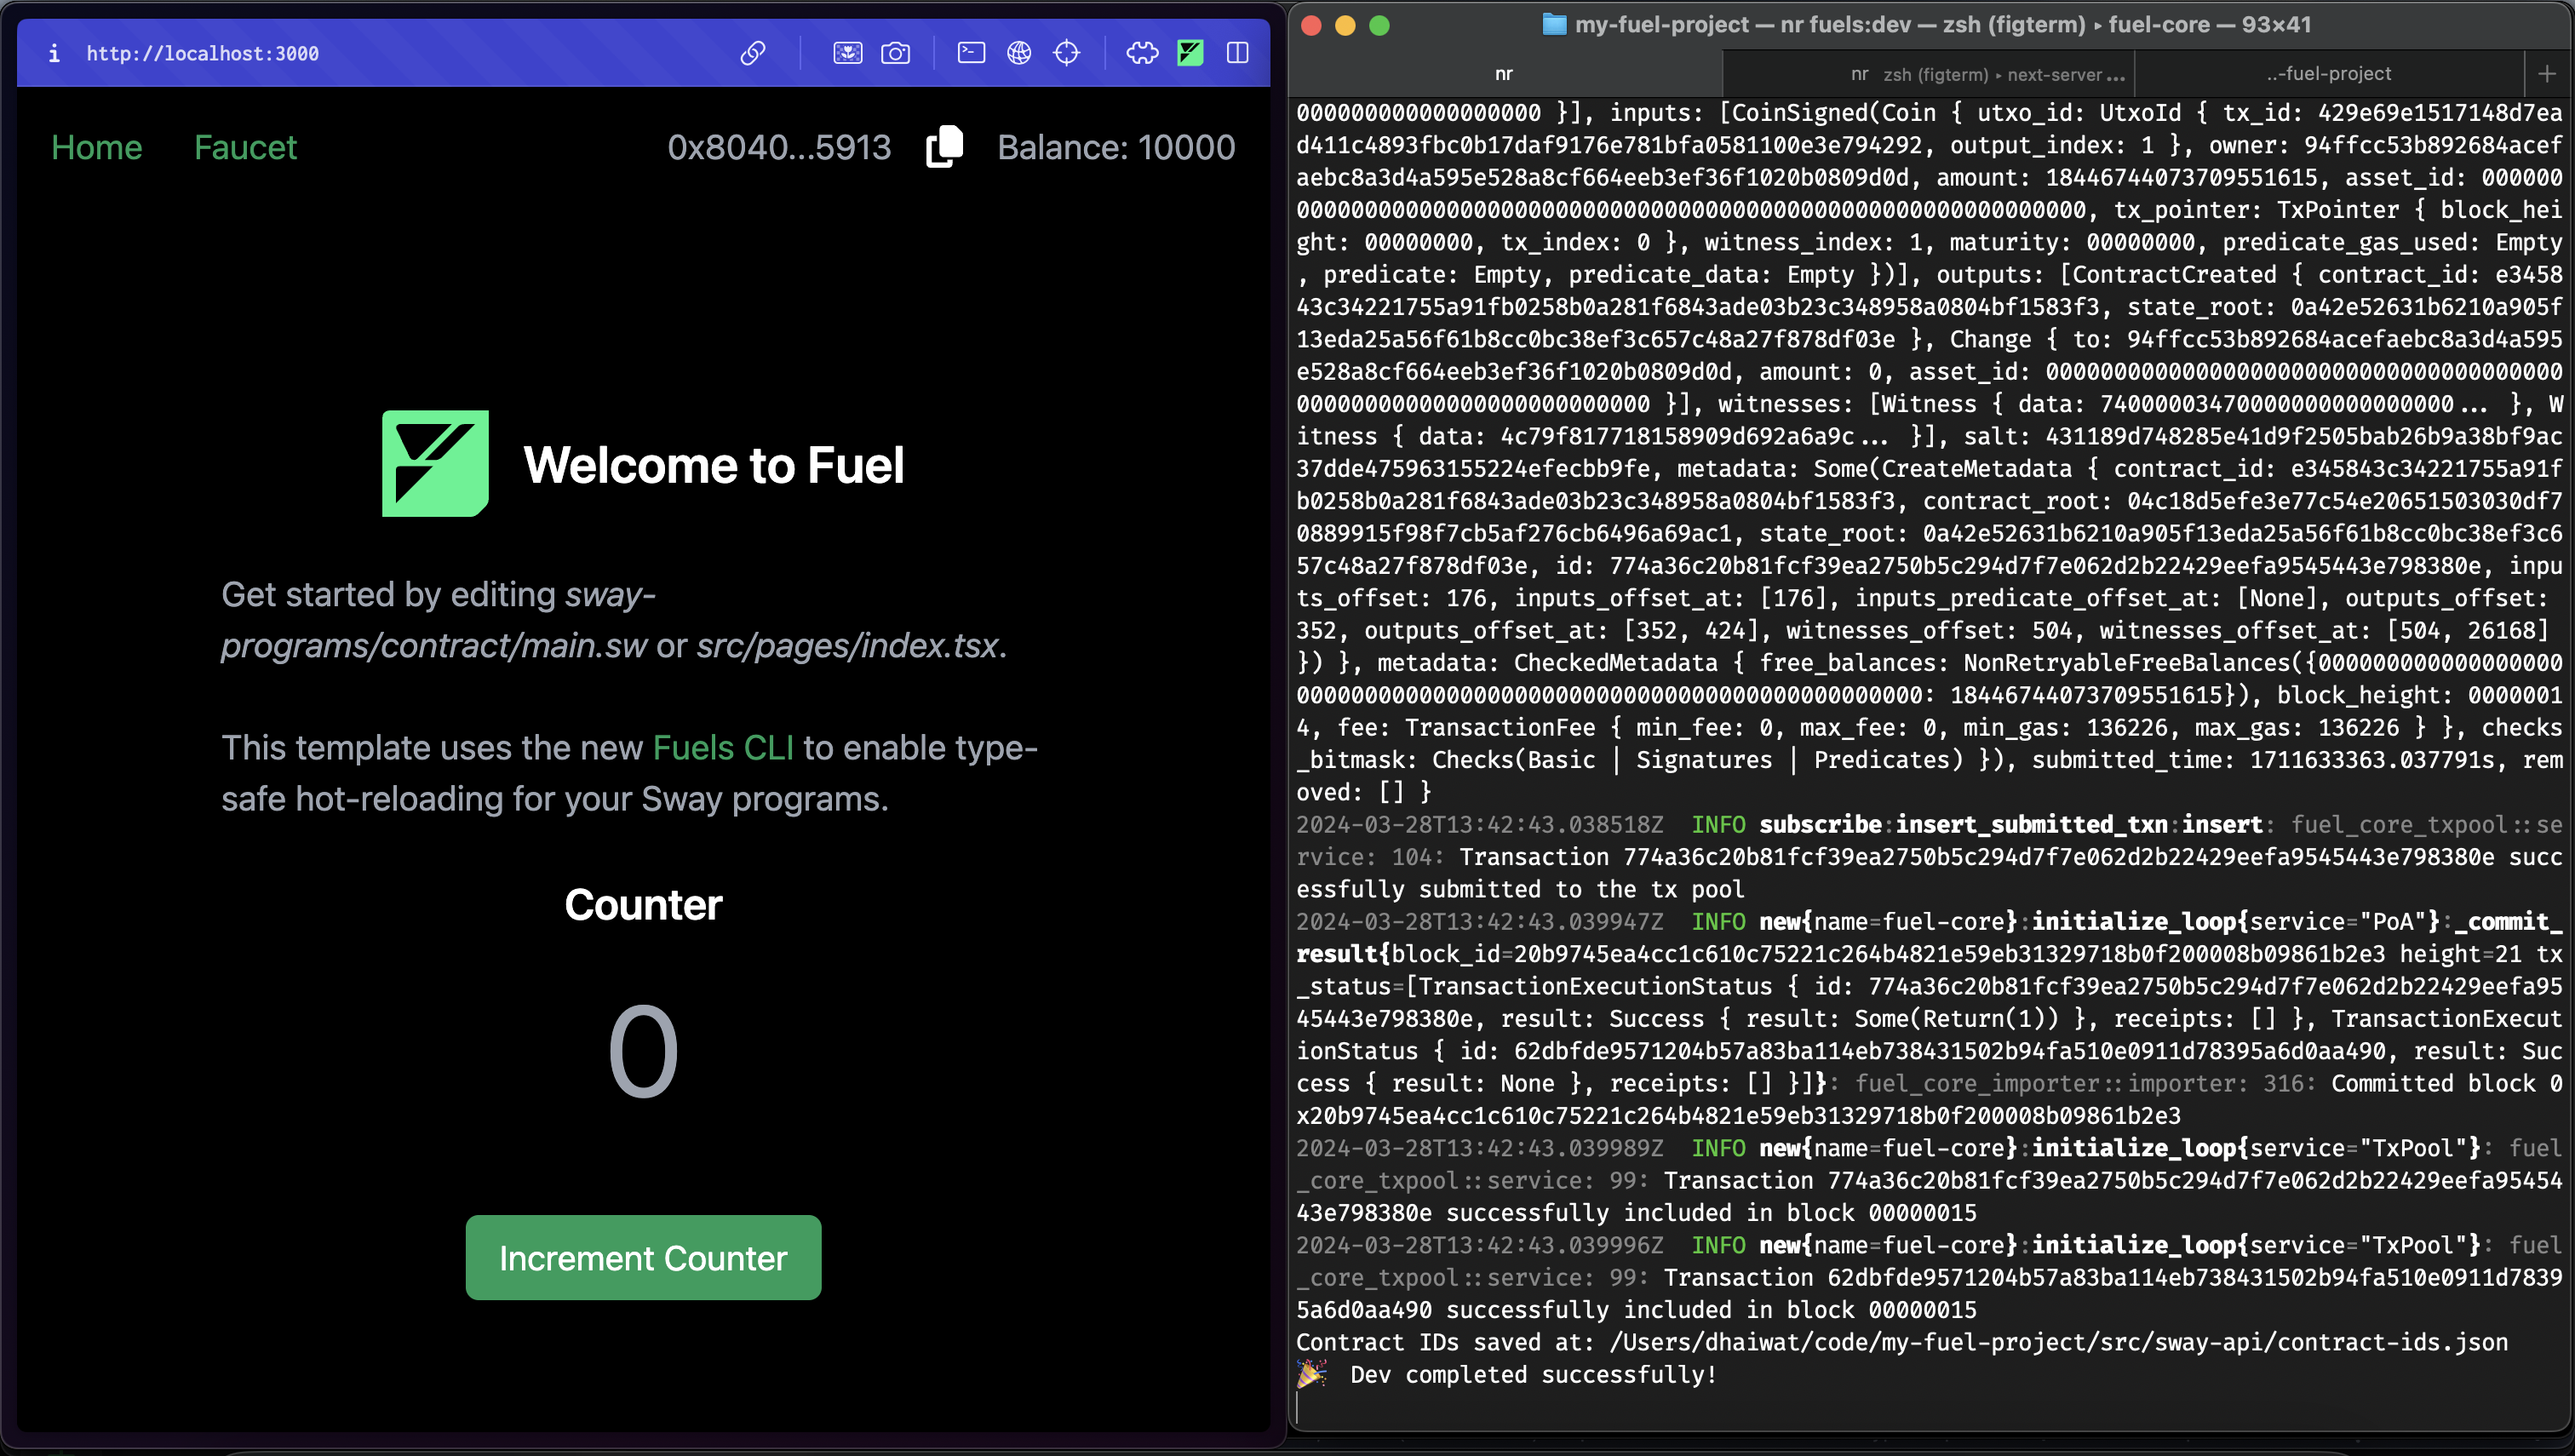
Let's first start our Fuel Dev server. This will start a local Fuel node and continuously compile and deploy our Sway programs to it.
npm fuels:devpnpm fuels:devbun run fuels:devOnce the server is up and running, we can start our Next.js development server in another terminal.
pnpm devpnpm devbun run devYou should now be able to see the counter dApp running at http://localhost:3000. You can try changing the contents of the ./sway-programs/contract/src/main.sw file and see the changes reflected in the UI without having to restart the server.
Note: You may wish to learn more about how you could create a Fuel dApp that uses predicates, check out our Working with Predicates guide.
Adding Decrement Functionality
To add decrement functionality to our counter, we will have to do two things: 1. Add a decrement_counter function to our Sway contract, and 2. Modify the ./src/app/page.tsx file to add a button that calls this function.
1. Modifying the Sway Contract
To add a decrement_counter function to our Sway contract, we will modify the ./sway-programs/contract/src/main.sw file.
There are two steps when adding a new function to a Sway program. The first step is to specify the function's ABI.
Towards the top of the file, you will find the ABI section for the contract. Let's add a new function to it:
abi Counter {
    #[storage(read)]
    fn get_count() -> u64;

    #[storage(write, read)]
    fn increment_counter(amount: u64) -> u64;

    #[storage(read, write)]
    fn decrement_counter(amount: u64) -> u64;
}The second step is to implement the function.
We will add the implementation of the decrement_counter function right below the increment_counter function.
impl Counter for Contract {
    #[storage(read)]
    fn get_count() -> u64 {
        storage.counter.read()
    }

    #[storage(write, read)]
    fn increment_counter(amount: u64) -> u64 {
        let current = storage.counter.read();
        storage.counter.write(current + amount);
        storage.counter.read()
    }

    #[storage(read, write)]
    fn decrement_counter(amount: u64) -> u64 {
        let current = storage.counter.read();
        storage.counter.write(current - amount);
        storage.counter.read()
    }
}2. Modifying the Frontend
We will now add a new button to the frontend that will call the decrement_counter function when clicked. To do this, we will modify the ./src/app/page.tsx file.
First, we will add a function called onDecrementPressed similar to the onIncrementPressed function:
const onDecrementPressed = async () => {
  if (!contract) {
    return toast.error("Contract not loaded");
  }

  if (walletBalance?.eq(0)) {
    return toast.error(
      "Your wallet does not have enough funds. Please click the 'Top-up Wallet' button in the top right corner, or use the local faucet.",
    );
  }

  const { waitForResult } = await contract.functions.decrement_counter(bn(1)).call();
  const { value } = await waitForResult();

  setCounter(value.toNumber());

  await refreshWalletBalance?.();
};Second, we will add a new button to the UI that will call the onDecrementPressed function when clicked:
<Button onClick={onDecrementPressed} className="mt-6">
  Decrement Counter
</Button>
Congratulations! That's all. You should now be able to see the counter dApp running at http://localhost:3000 with our newly added decrement functionality.
You can find the complete source code of the dApp we built here.
Whenever you want to add a new feature to your dApp and quickly prototype things, you can follow the same steps we followed in this guide.
Next Steps
Now that you have a basic counter dApp running and have the
npm create fuelsworkflow powering you, you can start building more complex dApps using the Fuel Stack. A good place to start for ideas and reference code is the Sway Applications Repo.As you may have noticed, there are different types of programs in your dApp, feel free to explore Predicates and Scripts, which are both important differentiators in the Fuel Stack.
If you want to deploy your dApp to the testnet, check out our Deploying a dApp to Testnet guide.
If you have any questions or need help, feel free to reach out to us on the Official Fuel Forum.
If you want to learn more about the Fuel Stack, check out the Fuel Docs.